How to Use a Putty Roller for a Smooth Wall Finish
Achieving a smooth and flawless wall finish is a critical step before painting any surface. Using a putty roller is an efficient and effective way to apply wall putty, creating a perfect base for your final paint job. A well-applied coat of wall putty fills in cracks, smooths out imperfections, and ensures that your paint adheres better and lasts longer. In this guide, we will walk you through the process of using a putty roller for a smooth wall finish.

Preparing the Wall Surface
Before applying putty with a roller, the wall surface must be properly prepared to ensure the best results. Start by cleaning the wall thoroughly to remove any dirt, dust, grease, or loose particles. If there are any cracks or larger imperfections, fill them in with joint compound or spackle, allowing them to dry before proceeding. Sand down any uneven areas for a smooth surface.
For older walls, it's also important to remove any flaking or peeling paint. Once the surface is clean, smooth, and dry, you're ready to apply the wall putty with your roller.
Choosing the Right Putty and Roller
Selecting the right type of wall putty is essential. Wall putty is typically made from a fine white cement powder that is mixed with water to form a paste. This paste adheres well to both concrete and plaster walls, filling in small cracks and providing a smooth finish.
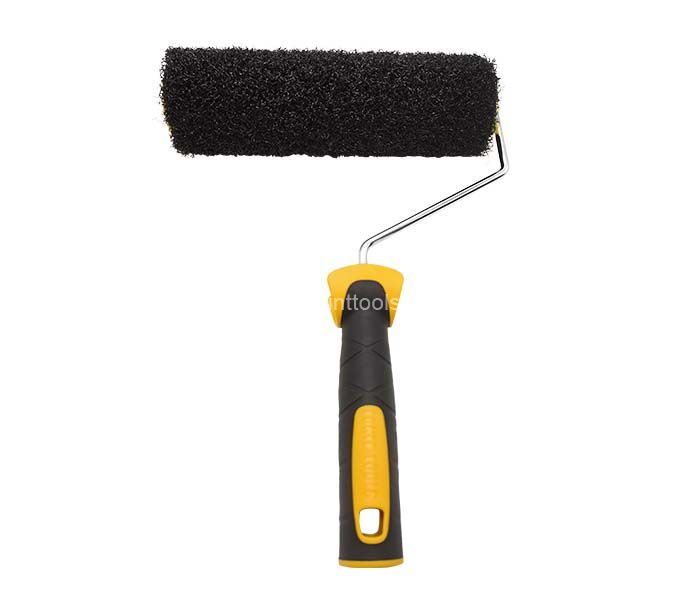
The putty roller you choose should be a high-quality, professional-grade roller specifically designed for applying putty and other thick materials. These rollers have high absorption, allowing them to hold and distribute the putty evenly across the surface. Look for a roller that is easy to handle and allows for smooth application, even in hard-to-reach areas like corners or ceiling joints.
Mixing the Putty
Mix the wall putty according to the manufacturer's instructions. Add water gradually to the putty powder and stir continuously to form a smooth, lump-free paste. The mixture should have a consistent, creamy texture that is not too thick or runny.
It's important to mix only as much putty as you plan to use in one session, as it can start to dry out if left for too long. Once mixed, let the putty sit for a few minutes to allow the ingredients to blend completely.
Applying Putty with a Roller
Once the putty is mixed and your roller is ready, it's time to apply the first coat. Dip the roller into the putty mixture, allowing it to absorb a sufficient amount of material. Be careful not to overload the roller, as this can cause uneven application.
Begin rolling the putty onto the wall in a consistent, smooth motion. Work from top to bottom and apply even pressure to ensure a uniform layer. If you're working on a large area, it's a good idea to divide the wall into sections and work on one section at a time.
Allow the first coat to dry completely, which typically takes a few hours depending on the humidity and temperature. After the first coat is dry, lightly sand the surface to remove any rough spots or excess material.
Applying Additional Coats
For a perfectly smooth finish, it's recommended to apply at least two thin coats of putty. The first coat fills in the cracks and imperfections, while the second coat ensures an even and flawless surface.
Once the first coat is sanded and smooth, apply a second layer using the same technique. Again, allow this coat to dry completely and lightly sand it for a perfect finish. Depending on the condition of the wall, you may need to apply additional coats to achieve the desired smoothness.
Final Steps: Preparing for Paint
Once all coats of wall putty have dried and the surface has been sanded, clean the wall to remove any dust particles left from sanding. At this point, the wall should be smooth, even, and ready for painting. Apply a coat of primer before painting to ensure the paint adheres properly and provides a long-lasting finish.
Conclusion
Using a putty roller is an efficient and professional way to achieve a smooth wall finish. By properly preparing the wall, mixing the putty correctly, and applying it in thin, even coats, you can create the ideal base for any painting project.
If you're looking for the right tools or need help with selecting the best products for your wall finishing, feel free to contact us. As a trusted supplier, we offer a wide range of putty rollers and other tools to help you achieve perfect results every time.