Features:
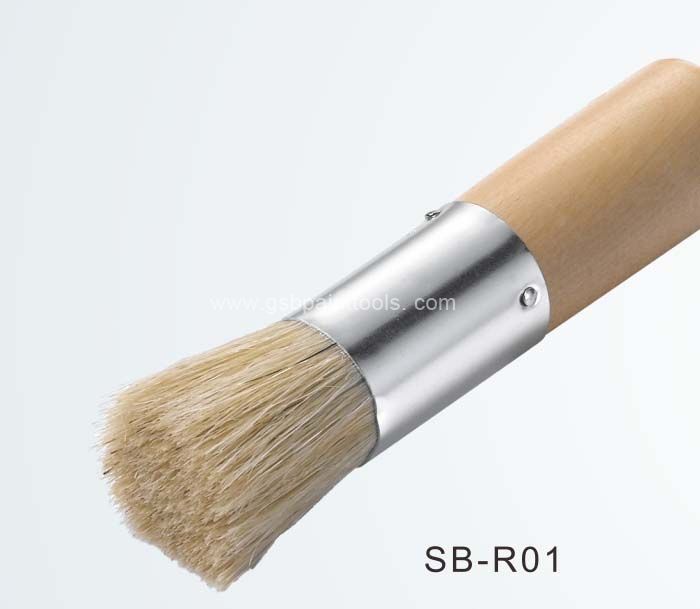
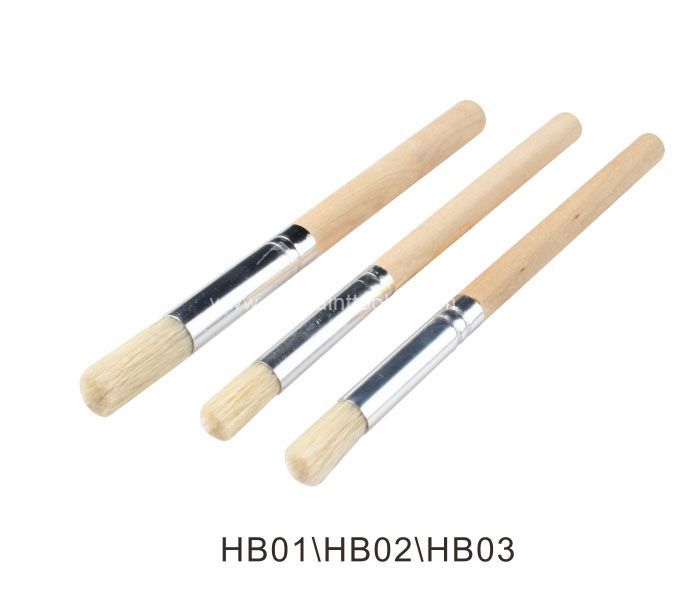
Items Name: Artist stencil paint brush with wood handle
Items No.: SB- or B-
Brand: G.SB
Style: Bristle stencil brush
Material: Bristle
Size: 1/2/3/4inches
Applied Environment: Interiors&Exteriors Walls
Packing: White box+sticker

About this item:
This stencil brush, featuring natural bristles, creates beautiful shading when used for stencil printing on furniture, walls, or floors. Our bristle stencil brushes fitted with a nickel plated ferrule and a short birch wooden handle, it offers various sizes for selection. It holds ample paint and is versatile for both paint and wax application. With superior paint pickup and release, it's durable on rough surfaces, delivering top-notch results. Revitalize your home decor and furniture with this brush's natural bristles and easy-to-grip wooden handle, ensuring high-quality results on all surfaces.
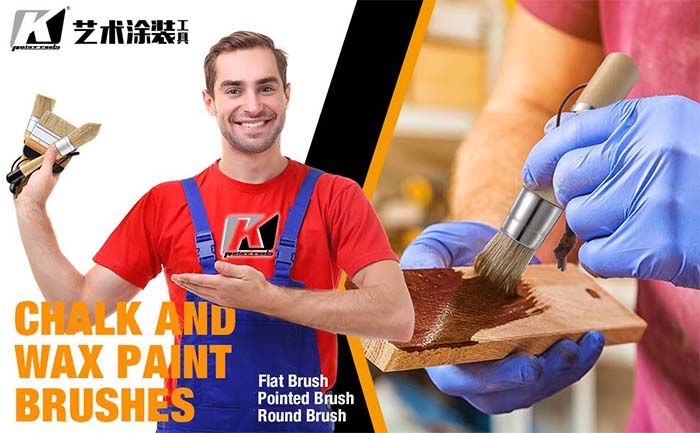
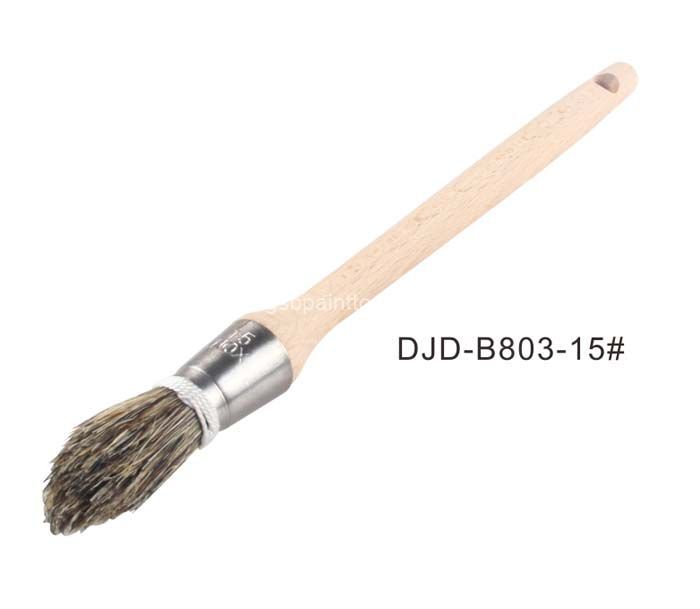
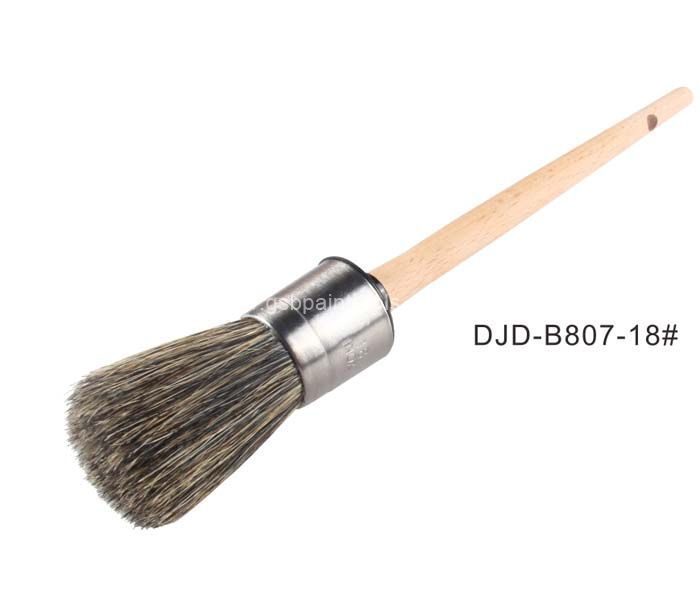
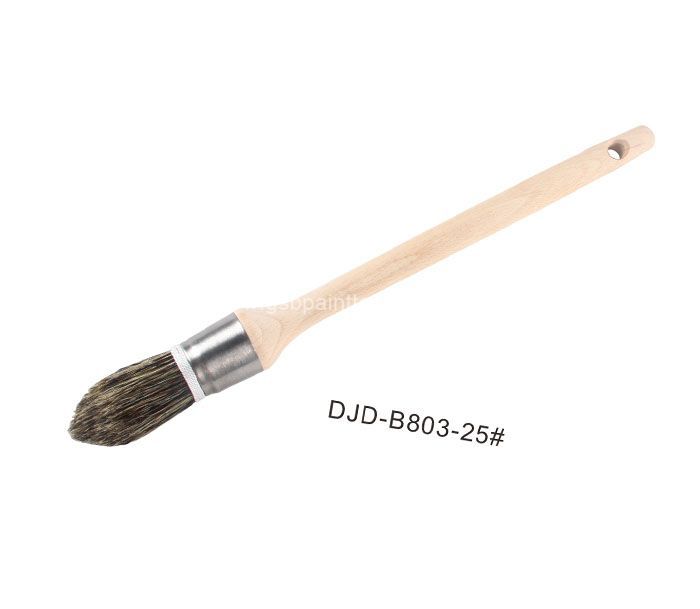
Different sizes: you will get a package of many pieces wooden stencil brushes in 6 sizes, please refer to the picture for detailed sizes, suitable for families, schools, art venues; Note that the brush head can be soaked into warm water before first time use. These Brushes are made of a High-Quality Wood Handle, Specially Designed in order to make your Hand feel relax while chalk painting furniture or other stencils etc. The round chalk brush is design to gives you the versatility to move toward any direction, applying an even layer of Paint or Wax without the requirement for circling your hands. The pointed small chalked paint brush for furniture is designed to cover the pointed areas of the project which is not achievable with straight brush or harder to apply.The flat chalked paint brush is designed for painting straight lines on the brush which is very easy to draw with these brushes for furniture.

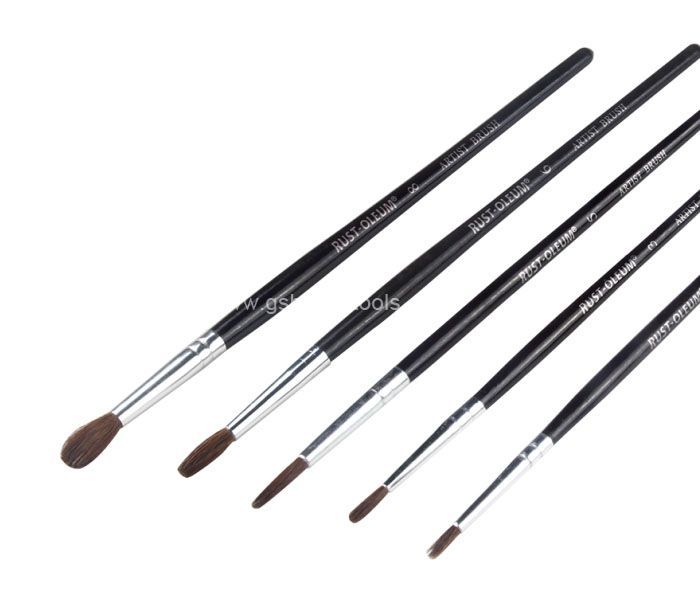
Our brushes natural bristles leave remarkable textures that are impossible to achieve through nylon bristles brush and due to Its premium quality bristles, it lasts for long. This Brush functions admirably well all Shades of chalk Paints and Wax, on a wide range of Furniture. It is an exceptional brush at a Reasonable Cost. With our professional brush, painting furniture will be the most beautiful art. K brand professional Brushes are compatible with almost all the chalk paints like Annie Sloan chalk paint, Rustolium ,pixie,diy paint, Heirloom traditions paint , Amy howard chalk paint, chalk paint wax kit, Also Compatible with all waxs likes Annie sloan clear wax, acrylic painting Dark Wax, Soft wax for furniture.
Now, how to choose a good stencil brush? These days there are so many brushes to choose from, it’s confusing! A good stencil brush is soft, flexible but densely packed, has natural bristles, minimal shedding. When you buy a new stencil brush, test how flexible it is. Bristles should not be too stiff. Avoid stiff brushes, especially those with synthetic bristles, they will be so hard to work with and will create rough brush marks as you stencil.
A good flexible stencil brush will give you beautiful soft shading and blending of colors similar to the airbrush effect. When you got your new stencil brush, it’s helpful to vigorously rub it with your thumb to get rid of most loose bristles before you start stenciling.Use larger brushes for large stencil designs, and small brushes for shading and for smaller designs. In general, the size of your brush should relate to the size of the stencil openings, the bigger the openings – the bigger the brush.
We think this brush may be the ultimate stencil brush for stenciling allover stencil patterns on walls, floors, and furniture. With a special round ferrule packed with lusciously long and supple bristles, this brush holds an amazing amount of paint. It will allow you to stencil large areas quickly and with great control. This brush is lightweight and the small handle makes it easy to hold for even more comfort!
How to Stencil Step by Step
To ensure you get the best results with stencils, first time and every time. When you first used a stencil, you probably experienced a new level of productivity. The precise shape and dimensions of a stencil let you create precise, professional-looking designs in a fraction of the time it would take using traditional methods. But as you become more familiar with your stencil, you’ll discover new ways to save time and boost productivity.
Start by gathering your equipment... We're using one of Stencil for wall painting , stencil brush, some chalk paint, and a little low tack stencil tape for this quick starter demo. To make sure you get the best results when using stencils, the first time and every time, follow these tips to get the best possible result.
Your stencil will never look as good as the original artwork, but it can still look great and help you save time and money on artwork. And choose a design you like and a size that's appropriate for your project. Stencils come in many sizes and designs and may be cut from various types of material including card, plastic or metal.
Stencils offer more creative scope than wall stickers, allowing you to paint them any colour you like, reuse them and add pattern to almost any surface including fabric, furniture and floors. And stencils offer more creative scope than wall stickers, allowing you to paint them any colour you like, reuse them and add pattern to almost any surface including fabric, furniture and floors.
Step one: sticking the stencil in place
Just use a few small pieces of tape around the edge of the stencil to hold it in place whilst you paint. You could just hold the stencil with your free hand but it's important not to let the stencil move at all.
Step two: Pour a little paint onto a paper plate
You'll be surprised at how little paint you're going to need! Load the very end of the brush with some paint - then remove most of the paint! Simply blot and swirl the brush onto another part of the plate or some kitchen towel to distribute the paint evenly on the bristles and remove excess paint from the brush. You're aiming for a virtually dry brush here.
However it looks like we quickly realised this and used masking tape to hold the stencil in place.A bit of masking tape will make all the difference and stop your stencil from moving whilst you paint.
You can used a Sponge Paint dabber for your stenciling. These are perfect for small stenciling projects. Just remember to remove the excess paint before you start stenciling. Best to dab it on some kitchen roll or old newspaper first. This helps prevent the paint bleeding under the stencil.
Step three: Begin stenciling
Apply the brush to the stencil in a dabbing or swirling motion. A bit like a Woodpecker! Keep the brush upright and at 90 degrees to the stencil at all times.Pay particular attention to the edges of each hole in the stencil.
There are lots of cool shading techniques which we'll cover another day but to start with just concentrate on filling in all the cut parts of the stencil. Only reload the stencil brush when no more paint is available. If you fancy adding another colour, go for it. To keep colours separate use another stencil brush and wait for the first colour to dry, but, if it's a blended look you're going for you could try adding a second colour whilst the first paint colour is still tacky and blending by overlapping with the second.
Step four: Remove the stencil
Remove the stencil before paint dries, especially if the paint is quite thick. There is a danger of peeling paint from your stencilled surface if you allow a film of paint to dry across the stencil.You should be left with a nice crisp stencilled image. Now you know how easy it is to stencil you can start to see the possibilies. Be as creative as you like, mixing and matching designs, applying stencils in all sorts of patterns, using any color.
None


