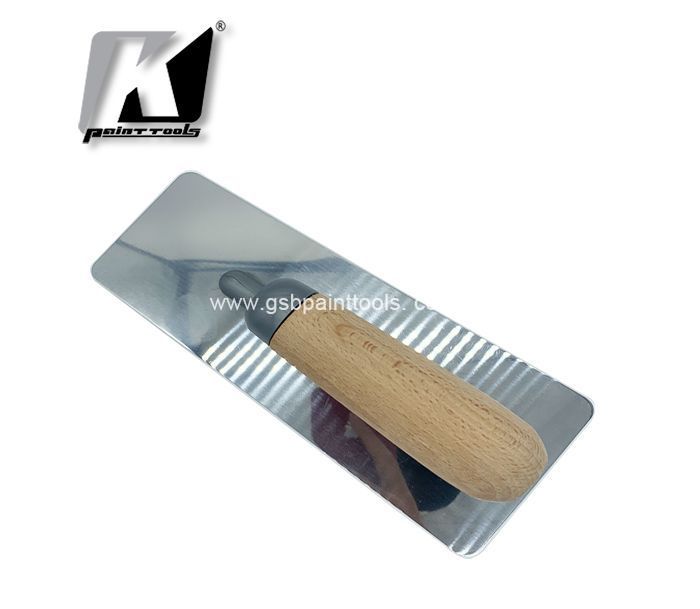
Features:
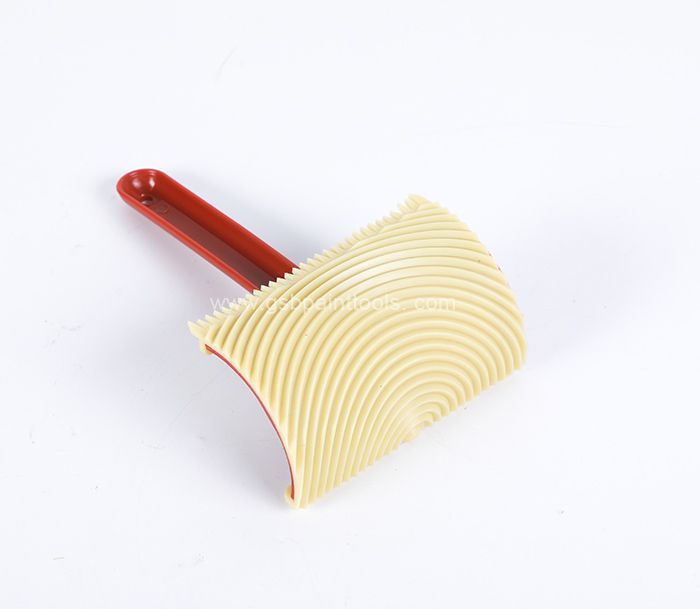
Items Name: W3 Wood Graining Tool
Items No.: W3
Brand: G.SB
Style: hand tool
Material: Rubber
Size: 10cm
Range of Application: Imitation wood grain effect
Applied Environment: Interiors&Exteriors Walls
Packing: single blister+paper card
Our sample policy:
Sample order is acceptable. We can supply the sample if we have ready parts in stock, but the customers need to pay the sample cost and the courier cost.
Packaging & Delivery
Each piece packed in the double blister with color paper (we design a logo for a client to promote their brand name in the local market).
Port: RongQi
Lead Time:
| Quantity(Pieces) | 1 - 1000 | >1000 |
| Est. Time(days) | 40 | To be negotiated |
we are strict with the package and the quality, we promise the customer the best services.
Payment terms:
1. The price above is EXW price. If the order value is over USD6000, it can be same as FOB price.
2. We will offer documents as: invoice, packing list, B/L, CO. If customer needs other certification, we need to charge customer the extra cost.
3. The delivery time will be 30-40 days after receiving deposit.
4. Payment term: 50% deposit, 50% paid upon copy of shipping documents.
False graining is intended to make bland wood look exotic. To create the wood grain, you need an K brand wood graining tool.To start, you will need a base coat of either paint, stain or the natural wood sealed with a clear finish.After the base coat is dry, brush on a thin coat.
Then, before the Gel Stain dries, and starting at one end, pull the special graining tool the length of the board.As you rock the graining tool back and forth, all the while pulling it toward the far end of the board, the raised rubber design of the tool will create different wood grain patterns in the Gel Stain.
Don’t stop mid-board, as this will leave a line of excess stain where you paused.Don’t like your first attempt? No problem! Just brush out the Gel Stain and make a fresh pass. Be sure to experiment with different angles and rocking motions to create different grain patterns.
When you are satisfied, let the Gel Stain begin to dry. Just before it is completely dry, however, use only the tips of a soft, natural bristle brush to “feather out” and soften the grain lines, making them look more natural. Once the Gel Stain has dried, apply two coats of Fast-Drying Polyurethane to seal and protect the stain and the wood. Now I just have to see if I can convince Alex to finish the rest of the box….Until next time.
Wood Graining Tool Tip: How to Paint Easy Faux Wood Grain
Acrylic glaze, latex paint, and Wood Graining tools let you put your own twist on a classic finish. You need are two colors of latex paint, some acrylic glaze, and a wood-graining rocker, which can cut shapely heart grain into wet glaze. Add a paint comb, which lets you vary the pattern by creating some knot-free "planks," and a mini roller and paint tray.
Three hours later you'll have a striking pattern with visible texture, thanks to ridges left behind in the glaze. To give the bookcase some not-so-serious character, we reversed the grain, making a pattern of glossy white atop satin brown. It's a quick process to master, and glaze dries slowly, so you can rework any wobbly planks. Still not sure you can drag a rocker in a straight line? Practice on a piece of posterboard first.
Step one : Essential Tools for Faux Wood Grain Finish
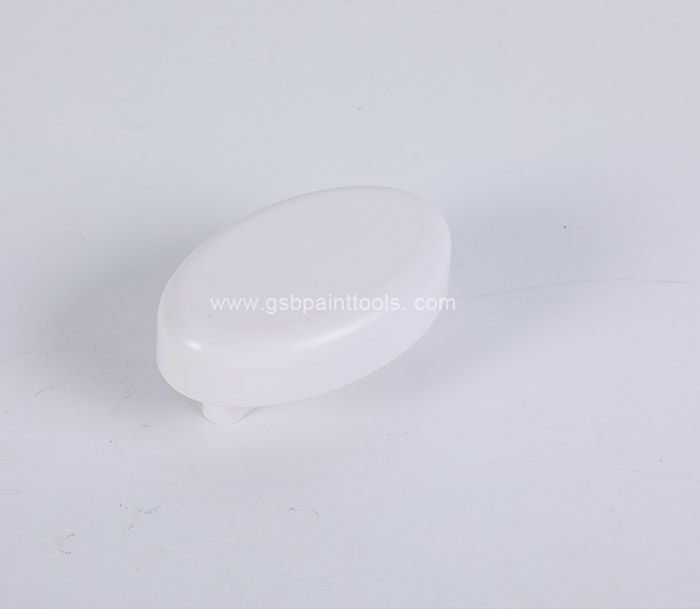
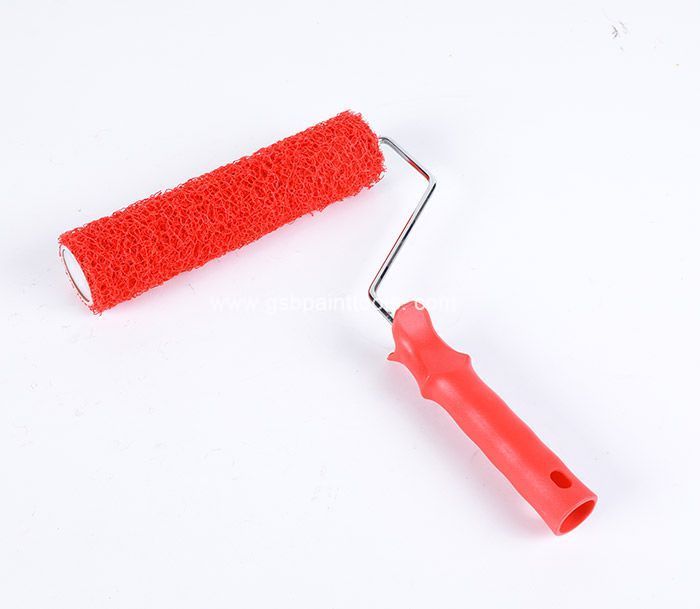
About K Brand three-piece wood-graining kit by G.SB can make the job easy and allows you to vary the pattern of your "planks."
Step two : Prep the Surface
If using an MDF panel, prime both sides to prevent warping. Apply two coats of satin-finish paint. Once it dries, mix equal parts clear acrylic glaze and white latex paint. Apply with a roller, glazing and faux-graining a portion at a time.
Step three : Cut in the Edge
Holding a paint comb at a 45-degree angle to the surface, cut in along the top of the panel. Pull the tool through the glaze in one uninterrupted motion to create veins running the panel's width. Now you don't have to worry about lining up the graining rocker with the edge on your first pass.
Step four : Create the "Planks"
Overlapping the grain, set the heel of the rocker on the panel's far edge. In one smooth motion, pull the tool toward you to drag the full pattern on the curved rocker through the glaze. If it doesn't look right, reglaze that area and try again. Be going to run the grain in the opposite direction, flip the handle.
Step 5 : Vary the Grain
Every so often, comb along the edge of a section you've just completed to vary the look of your planks. Mix up how you use the rocker and comb—twisting the tool to introduce some waves in the grain for a more natural pattern, for instance.
None


